Tips for Improving Your Microphone's Sound Quality: The Ultimate Guide
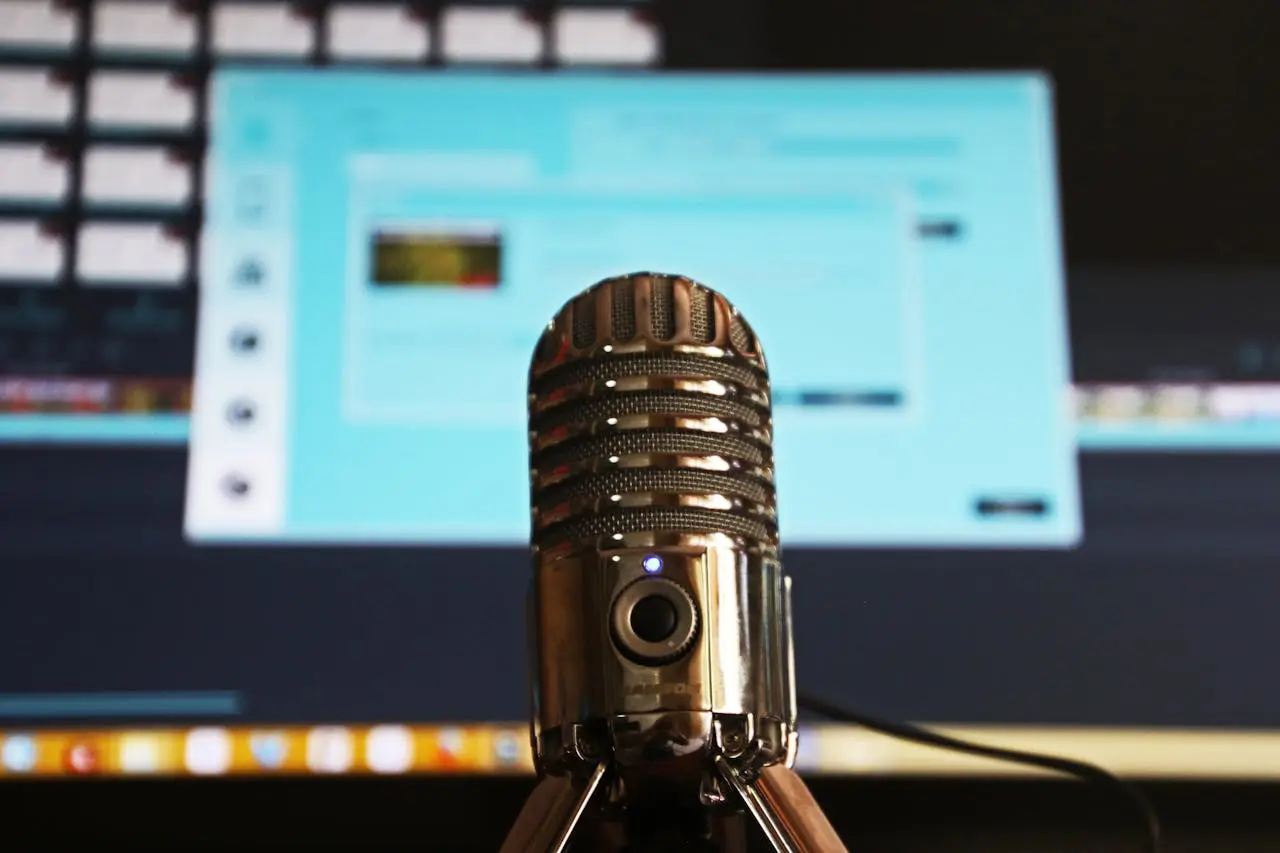
Selective Focus Photography of Gray Stainless Steel Condenser Microphone by Pixabay, Source is licensed under CC0 1.0 Universal.

Good-quality microphone sound is a must in today's digital world: podcasting, online meetings, gaming, or any form of content creation—you name it. The nasty audio can be such a turn-off, making you look less professional and leaving the interest piqued towards losing listeners. Now, we're about to dive into in-depth tricks and tips on improving the sound quality of your microphone. We've got you covered, from the concept of different types of microphones to mastering advanced audio techniques.
Various parts are needed to improve your microphone's sound quality:
Understanding Microphone Types and Their Uses
Dynamic Microphones
Dynamic microphones are solid and have a broad range of applications in live and broadcast situations. They work very well in loud environments because they pick up ambient noises at a lower level.
Recommended Microphones: Shure SM58, Audio-Technica ATR2100x-USB
Condenser Microphones
Condenser microphones are very sensitive and precise. They would be perfect for studio recording applications because they capture a large frequency range and fine details.
Recommended Microphones: Neumann U87, AKG C414
Ribbon Microphones
Ribbon microphones provide a warm, vintage sound. They are usually used in professional studios to record different vocals and instruments.
Recommended Microphones: Royer R-121, AEA R84
Lavalier Microphones
Lavalier microphones, or lapel mics, are small and clip onto clothing. They work well in most situations where a presenter or individual is being interviewed or giving a speech in public.
Recommended Microphones: Sennheiser ME2, Rode Lavalier GO
Selecting the Right Microphone
The right microphone depends on its intended use. Use a condenser microphone for studio-bound recording of podcasts or vocals. Dynamic microphones are more suited to loud environments or rugged situations, like live performances.
Optimizing Your Recording Environment
Curtail Background Noise
Pick a quiet room with reduced outside noise. Avoid rooms beside major streets or noisy appliances.
Soundproofing: Use foam panels, heavy curtains, and carpets to reduce noise reflections and sound absorptions.
Turn Off Noisy Equipment: Ensure that fans, air conditioners, and other noisy equipment are turned off while recording.
Acoustic Treatment
Absorption Panels: Mounted on walls and ceilings to absorb sound waves and reduce reflections.
Bass Traps: Place them in corners to prevent low-frequency sounds from getting muddy.
Diffusers: Scatter sound waves evenly in all directions to prevent harsh reflections.
Setting up Your Microphone Correctly
Distance and Angle
Distance: Keep the microphone at a constant distance of 6-12 inches to ensure consistent sound levels.
Angle: Set up the microphone at an angle to your mouth—about 45 degrees—to reduce plosive sounds and breath noise.
Use a Pop Filter
A pop filter is a screen placed in front of the microphone to reduce plosive sounds and improve recording clarity.
Microphone Stand and Shock Mount
Use a stand and shock mount to hold the mic with minimal vibrations or handling noise, providing stability and reducing unwanted noise.
Microphone Techniques
Proximity Effect
Proximity effect occurs when the sound source is very close to the mic, increasing bass frequencies. Experiment with different distances to find the right balance.
Off-Axis Rejection
Understanding your mic's polar pattern helps utilize off-axis rejection to reduce unwanted sounds. For example, cardioid microphones pick up sound mainly from the front and reject noise from the sides and back.
Business Voice Control
Maintain steady volume and articulate clearly to enhance sound quality. Set a suitable pace to keep the audience engaged and avoid monotony.
Post-Production Techniques
Equalization (EQ)
Cut unwanted frequencies below 80 Hz and above 16 kHz. Enhance mid-range frequencies around 1-4 kHz for vocal presence and control bass to avoid muddiness.
Compression
Compression reduces the dynamic range of an audio signal, making quiet parts louder and loud parts quieter. Adjust attack, release, threshold, and ratio for a balanced sound.
Noise Reduction
Use noise reduction software to remove background noise or hiss from recordings. Programs like iZotope RX and Audacity can help with this process.
Reverb and Delay
Add reverb and delay sparingly to provide depth and dimension. Overuse can result in an unnatural sound.
Regular Maintenance and Upkeep
Cleaning and Storing Your Microphone
Clean the microphone regularly with a soft cloth and a small brush. Store it in a protective case to keep it free from dust and damage.
Checking Cables and Connections
Inspect cables for damage and replace them as needed. Ensure connections are secure and free from corrosion.
Software Updates
Keep recording software and drivers updated to ensure compatibility and performance improvements.
Tips for Enthusiasts — Advanced Usage
Using Multiple Microphones
Using multiple microphones can enhance audio quality. Different mics can capture various tonal qualities and balance in recordings.
Stereo Recording
Stereo recording captures audio in two channels for a sense of space and depth. Techniques like XY, AB, and ORTF mic placements create vivid sound fields.
Experimenting with Microphone Preamps
A quality preamp can add warmth and character to recordings. Experiment with different preamps to find the best match for your mic and style.
Acoustic Reflection Filters
Portable acoustic reflection filters reduce pickup of reflections and background noise, especially useful in unbalanced or mobile recording environments.
Conclusion
Better sound from a microphone comes through choosing the proper equipment, perfecting the recording environment setup, and applying excellent mic techniques and post-production tools. Regular maintenance and advanced techniques further enhance audio quality. My journey from photographer to content creator underscored the importance of good sound quality and the impact it can have.


