How to Make Your Mic Sound Better
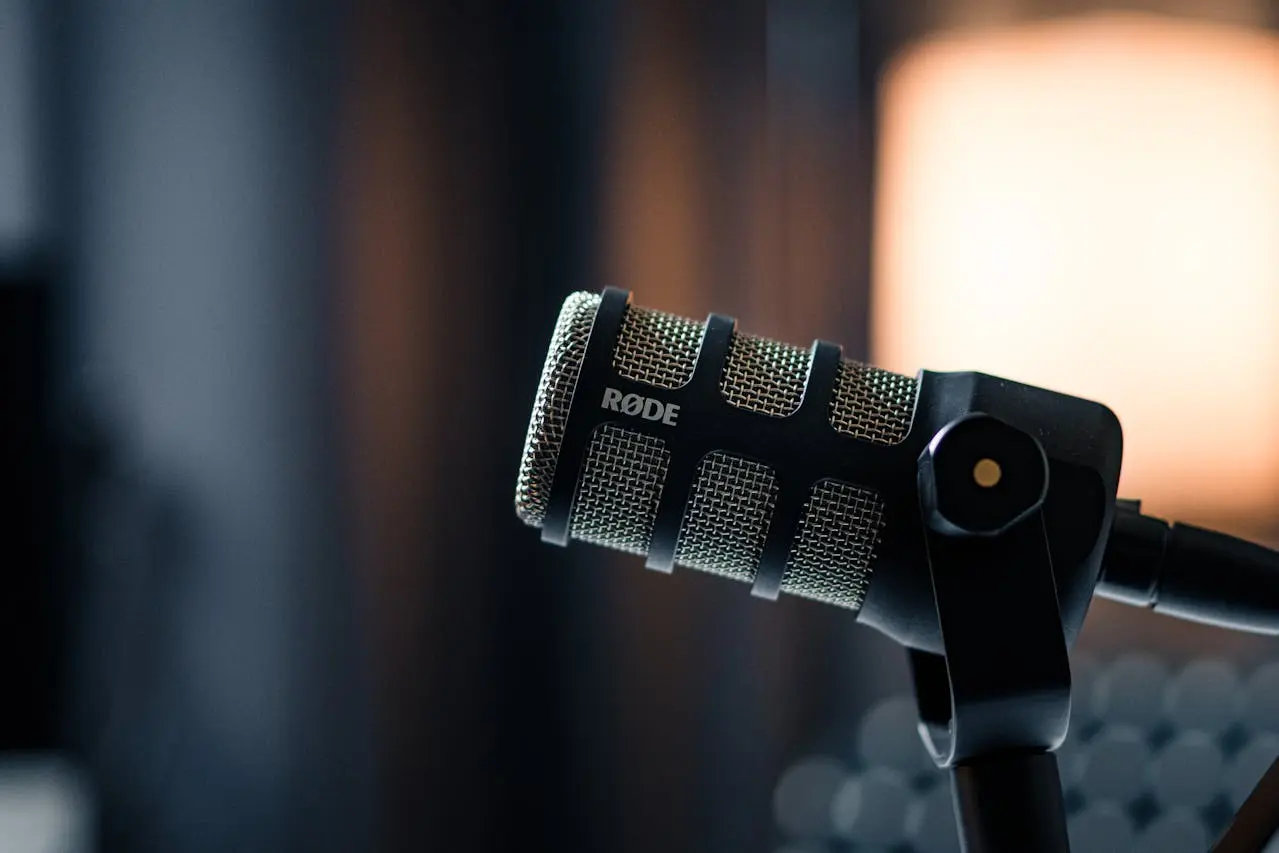
"Close-Up Photo of a Rode Microphone" Pixabay, Source is licensed under CC0 1.0 Universal.

Your microphone may continually be improved for sound quality, whether it be music, podcasts, online meetups, or even streaming. In this article, we will take every best practice to deliver professional-grade audio. With over 30 years in creating content and SEO, my work has taken me to design a full tutorial—from A to Z—keeping in mind simplicity and clarity and not forgetting the essential SEO keywords for the same.
Basics of Microphones
Understand the very basics of how a microphone works and what it is before jumping into improvement techniques. This will give you a base that will let you make informed decisions on your path to upgrading or fine-tuning.
Types of Microphones
Dynamic Microphones: Dynamic microphones are robust, versatile, and very suitable for live performances. The ability to handle loud sounds without distorting makes them quite reliable in many areas.
Condenser Microphones: With their high sensitivity and broad frequency response, they are favourites in studios. This makes them demand some external power supply, usually phantom power.
Ribbon microphones: These are vintage-looking mics with a warm, natural sound. Be careful, though, since they are pretty fragile and usually only studio-bound.
Microphone Polar Patterns
Cardioid: This pickup pattern mainly picks up sound from the front and is good at isolating the source from background noise.
Omnidirectional: It picks up the sound equally in every direction, making it suitable for recording ambient sounds or group vocals.
Bidirectional: Picks up in a figure-8 pattern; it picks up equally but opposite beside and rejects sound from the sides. Often used in interview setups.
Microphone Placement
Proper microphone placement is very important in helping you get the best sound. Here are some tips:
- Distance: Always keep the mic at an equal distance. If you're too close, you'll hear an excessive bass boost. If you're too far away, your sound can be thin and full of noise.
- Angle: Angling the mic just a little off-axis really helps in killing the plosive sounds like "p" and "b" sounds, along with the sibilance—what is commonly called the hissing of the "s" sounds.
- Setting: Provide a noise-free recording space to eliminate most background noise.
How to Improve the Quality of Your Microphone Sound
We will discuss improving the quality of your microphone's sound, from upgrading its hardware to its software, and how to record correctly.
Hardware Upgrades
Get a Better Microphone: There are plenty of ways to significantly upgrade one's audio, including dynamic, condenser, and even ribbon microphones.
Install a Pop Filter: The pop filter diffuses the transient air from the mouth before it hits the microphone diaphragm, thus reducing plosives. This very inexpensive gadget will introduce far more apparent clarity.
Shock Mount: Probably the most overlooked accessory—the shock mount—is carefully engineered physically to protect your mic from mechanical vibrations, which can also cause undesirable noise.
A decent preamp will significantly raise the signal of your microphone without adding too much noise, so it becomes really important for condenser microphones that need a clean and high-gain signal.
Audio Interface: This part changes your microphone's analogue signal into a digital signal that the computer can process. Higher-quality interfaces achieve better sound conversion at lower latencies.
Software Adjustments
Digital Audio Workstations (DAW) are used for many types of audio post-production. For mic recordings, proper use of the DAW will greatly help to improve sound.
Equalization (EQ) is a great way to sculpt your recorded sound. You can reduce any harsh frequencies and boost areas that may be lacking, such as high-end clarity or midrange body.
Compressor: A compressor will reduce the dynamic range, making the loudest parts softer and boosting the softer ones. This is particularly useful for keeping vocal recordings even and clear.
Noise Gate: A noise gate will automatically lower the volume of the mic signal whenever the sound falls below a certain threshold. This can help cut out unwanted background noise.
Reverb: While not always necessary, a touch of reverb can add a sense of space and depth to your recordings. Be cautious not to overdo it, as it can make the recording sound unnatural.
Recording Techniques
Learn proper recording techniques to enhance the sound quality further. Correct mic techniques and recording practices are essential for high-quality output.
Be mindful of the room's acoustics and try to make your recording environment as soundproof as possible. Using sound-dampening materials can significantly impact the recording quality.
Practice your mic technique by speaking or singing into the mic at varying distances and angles to find the optimal position for the best sound.


